The Soul Machines Digital People represent the next evolutionary advance in combining the quality of hyper-realistic CGI with a fully autonomous, fully animated CGI or digital character. Each human-like Digital Person can be personalized to fit the role you need for your business and deliver specialized knowledge to your target audience.
Soul Machines developed the Digital DNA Studio creative tool to enable its customers to quickly create, customize and test user experiences and functions for their Digital Person solution. This tool also enables users to deploy the authored Digital Person to a target website.
This guide provides information on how you can access and use Digital DNA Studio. It also includes basic guidelines and tips that can help you tailor your Digital Person to meet your organization’s business goals and intended end-user experience.
The following provides a summary description of the sections included in this user guide:
...
Getting Started – Covers user log-in and account management, an overview of the project Dashboard, and the functional areas of Digital DNA Studio.
...
Quickstart using Digital Person roles- These are pre-filled Digital DNA Studio project templates with standardized configurations to help you get up and running for the most common use cases.
...
Managing Projects – Describes how you can create a new Digital Person project, manage existing projects, the options available for deploying a project, and guidelines for naming your project.
...
Create Custom Digital people - Create your own unique Digital Person with custom clothing and a name badge
...
TTS and STT Language Options – Lists the languages supported for the Text to Speech (TTS) and Speech to Text (STT) functionality.
...
Using your Own Custom UI – Describes the requirements for using your own custom UI for your Digital Person’s conversational experiences.
...
Displaying Content in the Digital DNA Studio Default UI – Describes the different types of content implemented by Soul Machines for its UI.
...
Using Speech Markers in the Digital DNA Default UI – Describes the available types of speech markers that can be used in the conversation scripts.
...
Viewing Interaction Insights – Describes how you can graphically view and analyze historical data that can help you understand how your project is progressing and identify interaction areas that require improvement.
...
Customizing Personality and Behaviors – Describes the mechanism for customizing the behavior of your Digital Person using various options from Digital DNA studio, and how to use them on different versions of Human OS and languages.
Audience
This guide is intended for users who would like to create, customize and test a Soul Machines Digital Person, and then deploy the authored Digital Person into a target website.
Please contact your Soul Machines representative if you require further assistance in using this guide.
Videos
A quick video on how to configure, customize and deploy a Digital Person is available here.
Related Documents
The following documents can be used in conjunction with this Knowledge Base:
...
Soul Machines Developer Documentation
...
Learn the basics
...
Start with Preset Project Templates
Preset Project Templates allow you to get started quickly with a pre-configured project built around a particular use case.
...
The Preview link will launch the Digital Person in another tab, letting you interact with the role and observe the experience before choosing the template for your project.
The Customise button opens the project form allowing you to make edits to the template just like you would when you create a project. Once the form is edited and saved a new project is created under My projects.
You can learn more about each Preset Project Template here:
Influencer
Customising a Template:
This section explains how to create a Digital Person experience. The preview in the right pane will show you the changes that have been applied, allowing you to test each configuration before deploying the project. Finally, when you are satisfied with your Digital Person, deploy it, and share the URL with the end-users.
| Info |
|---|
Please note: Every time you make a change to the configuration, you must click Update Preview on the Preview window to incorporate the changes into the preview DP’s behavior. |
...
The preview pane on the right hand side is a handy tool to test your configurations allowing you to fine tune your Digital Person. Use the text box to write your own sample script and test the voice and behaviour settings. Here’s a list of features you can test in the preview:
Changing avatar
Changing conversational content and Skills
Changing TTS/voice
Changing camera
Changing behaviour/personality
Every time you change one of those settings, click Update Preview on the Preview window to incorporate the changes into the preview DP’s behavior.
...
To show the text box and insert your own text that the DP can repeat:
Open the text entry window
Then type in a test sentence and click Repeat.
...
1. Choose a name for your project
It must be a unique and /wiki/spaces/~5a4d740dfed274297effe5c2/pages/1526271373 as this name will also be in your deploy links. The system does not allow you to use a name that has been already used for an existing project.
...
2. Select your Digital Person avatar
Available to all our customers are the latest /wiki/spaces/~5a4d740dfed274297effe5c2/pages/1526271400. If you have built your own /wiki/spaces/~5a4d740dfed274297effe5c2/pages/1526269014, they will also be available to you.
...
If you would like to use any of the Digital Persons as a starting point and change the look, click on the 3 dots within the profile picture and select Collect Digital DNA. This gives you the unique blend used to create this Digital Person in an encoded format (a.k.a Digital DNA). Copy the DNA and save it in your preferred text editor.
...
To continue working on the Digital Person, use the Loading Digital DNA feature of the Digital DNA Blender.
| Info |
|---|
Note: The Collect Digital DNA option is available only for the Digital People created from Digital DNA Blender. |
3. Choose the behavior of your Digital Person
Some of the behavior options in Digital DNA studio are dependent on /wiki/spaces/~5a4d740dfed274297effe5c2/pages/1526277432, and /wiki/spaces/~5a4d740dfed274297effe5c2/pages/1526268958. Refer to the /wiki/spaces/~5a4d740dfed274297effe5c2/pages/1526277432 and /wiki/spaces/~5a4d740dfed274297effe5c2/pages/1526268958 for details.
Choose a behavior style
/wiki/spaces/~5a4d740dfed274297effe5c2/pages/1526274292 are a predefined set of behaviors consisting of defined gestural and emotional behavior, that can be easily matched to the written persona you’ve created and your use case.
Behavior adjustments
Adjust behavior with sentence or word based /wiki/spaces/~5a4d740dfed274297effe5c2/pages/1526274501
Otherbehavioral settings
Boost expressiveness with additional iconic gestures - You can choose whether or not to automatically insert additional gestures. Turning this on will create a more expressive digital person. If you want a digital person to show less hand gestures you can turn this toggle off.
Enable Digital Person Greeting at the start - This option makes your Digital Person greet users as it starts up to provide them with a verbal cue that the interaction has commenced. This setting is enabled by default.
End Session Timeout - This option makes your Digital Person automatically end the conversation session with the user, after a specified period of inactivity from the user side, e.g. after 5 minutes. This setting is enabled by default.
React to negative facial expressions - You can choose whether or not to allow your digital person to respond to users' negative facial expressions.
React to negative speech - You can choose whether or not to allow your digital person to respond to users' negative speech.
Please refer to this page for more details on /wiki/spaces/~5a4d740dfed274297effe5c2/pages/1526274431.
...
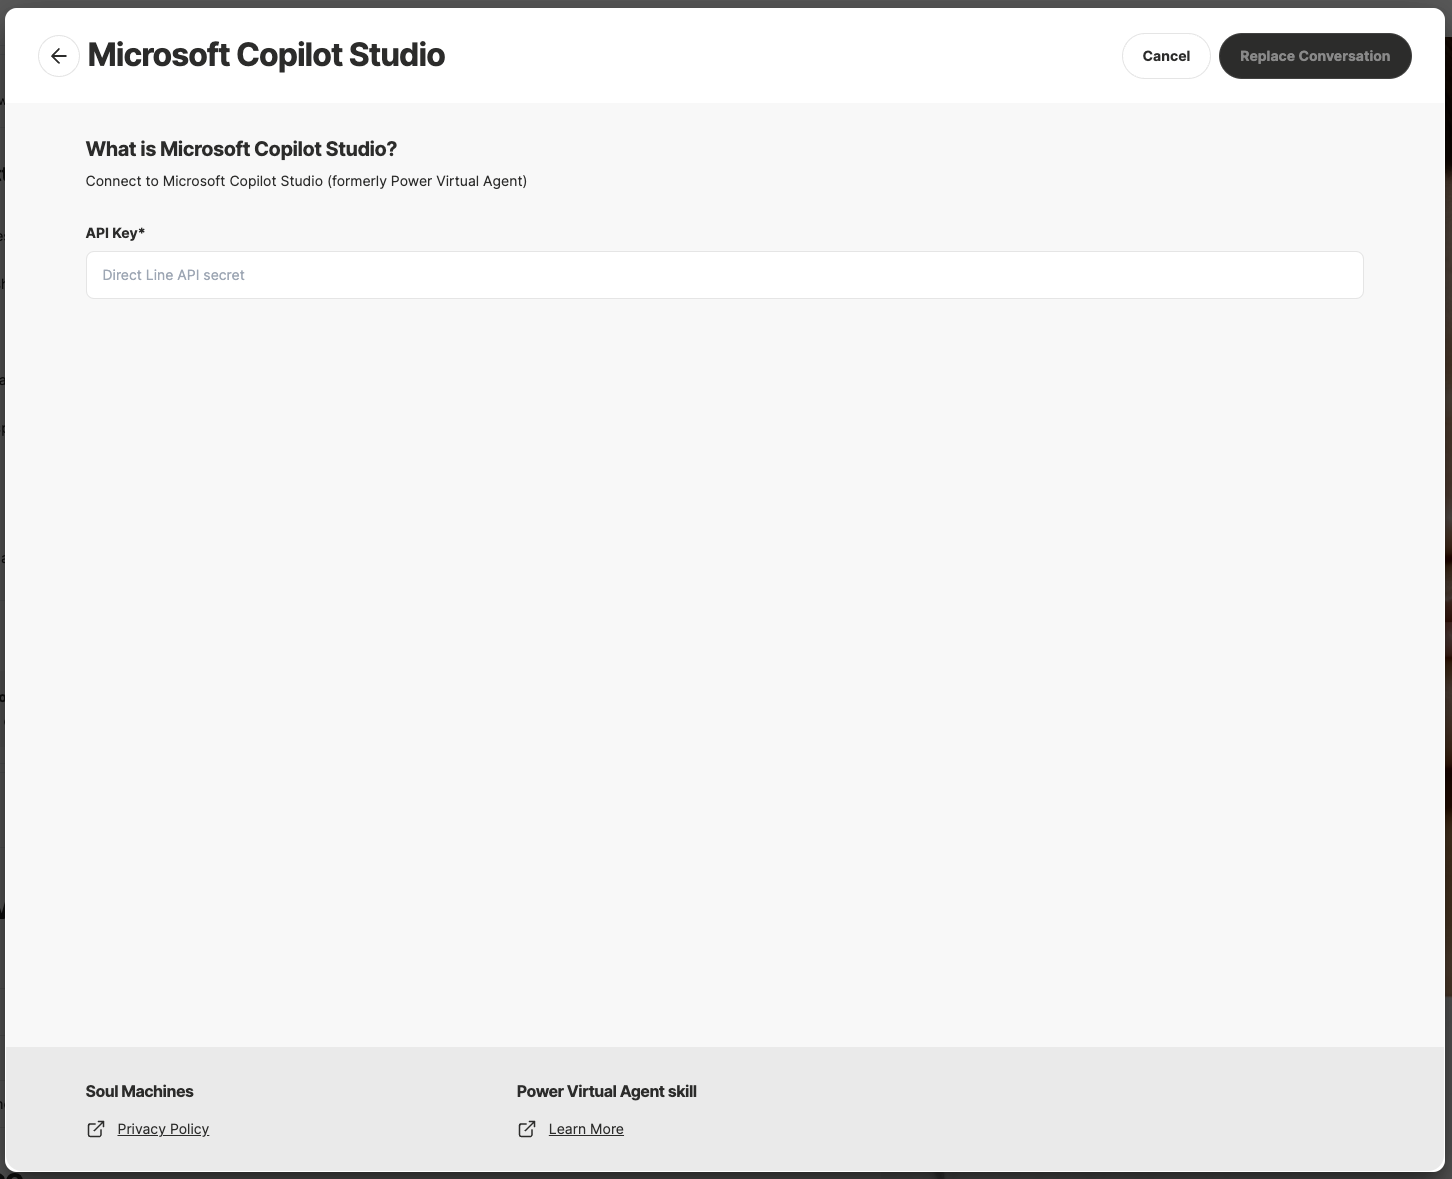
4. Connect conversation content
By default Soul Machines Digital People are connected to GPT from OpenAI, but you can replace their conversational content to connect with your chosen provider by choosing “Replace conversation” from the UI.
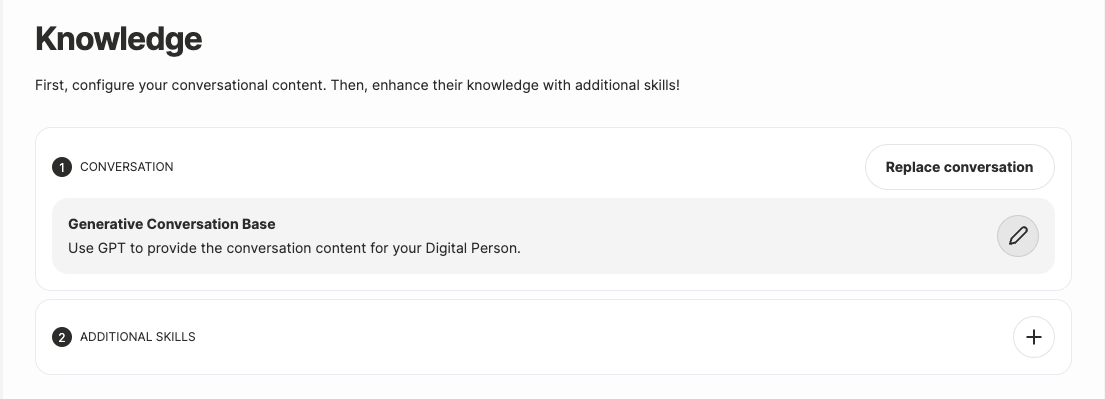
We offer several options of prebuilt integrations as shown here:
...
If you already have conversational content in one of these providers, you can connect it here.
We also offer more advanced connections via our /wiki/spaces/~5a4d740dfed274297effe5c2/pages/1526272285 and our /wiki/spaces/~5a4d740dfed274297effe5c2/pages/1526276314 pathway.
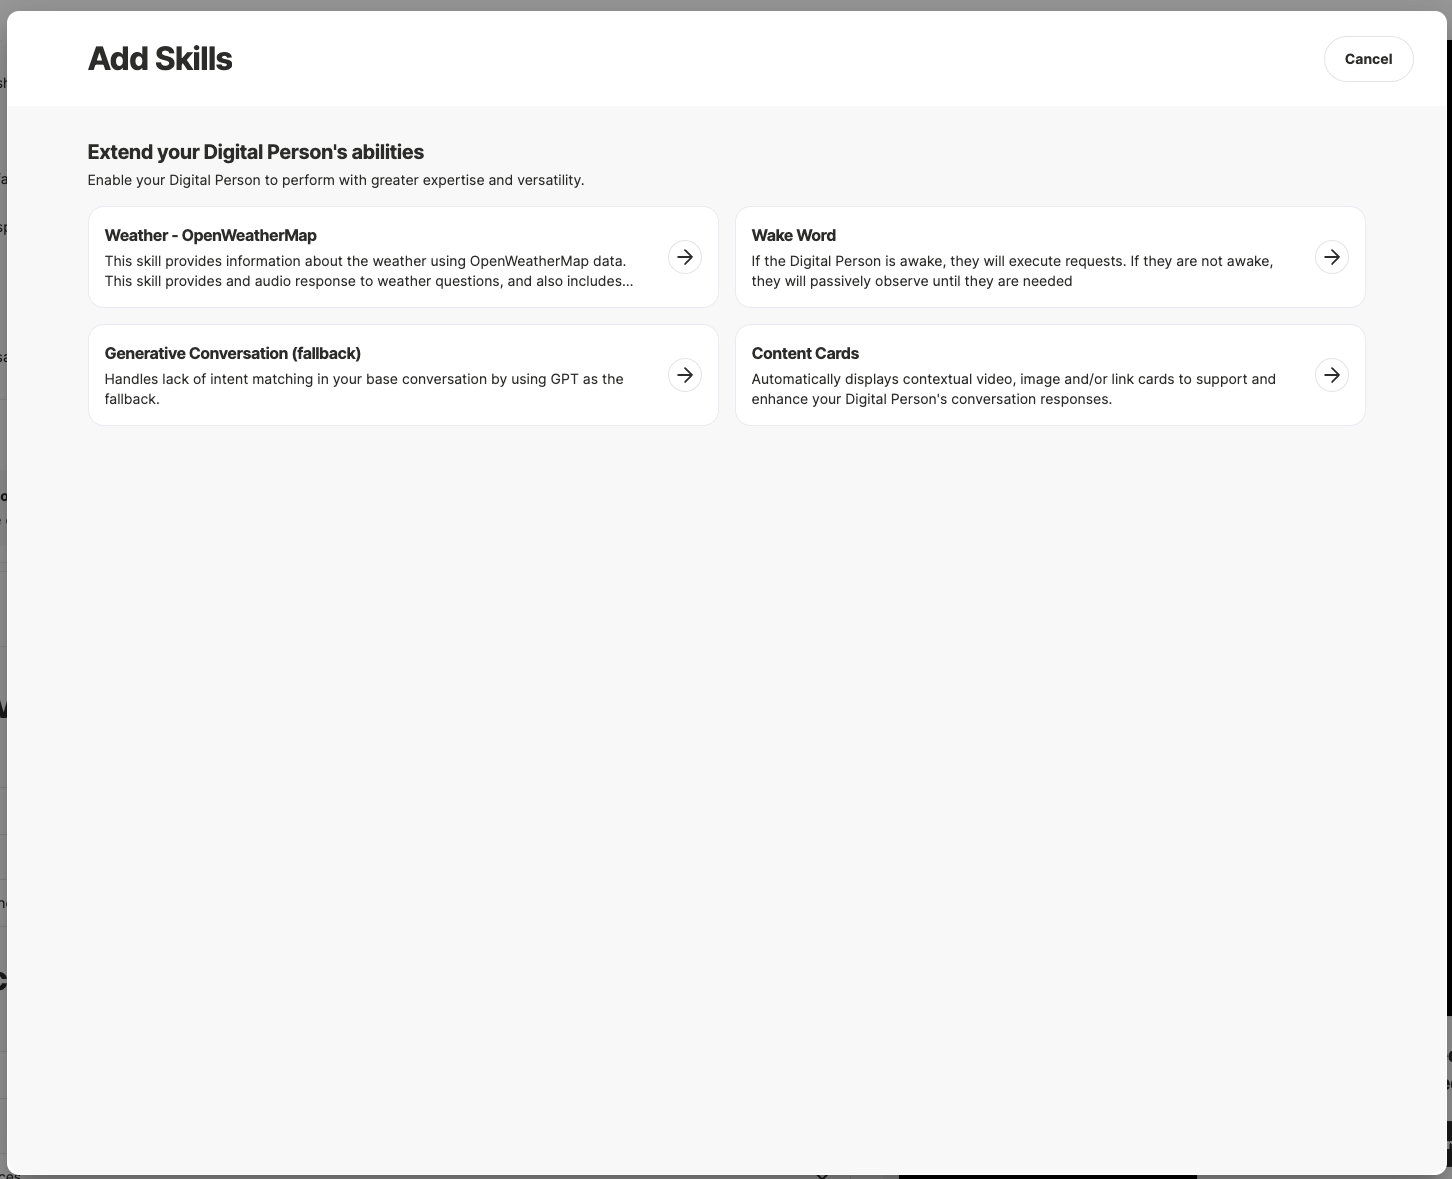
5. Add additional Skills
Skills are modular components that can be added to the Digital Person to enhance their conversation capabilities. See /wiki/spaces/~5a4d740dfed274297effe5c2/pages/1526272285 for detailed information on adding and managing Skills.
| Note |
|---|
Notes:
|

6. Choose a language for the conversation
Choose your Digital Person’s language.
This is the language in which your Digital Person will speak. By default, English (US) is selected.Choose a voice and accent.
We support TTS from Google, Microsoft, and Amazon.To test the voice
click Update preview on the Preview window
open the text entry window
Then type in a test sentence and click Repeat.
...
Choose Audience language.
This is the language your target audience speaks, which the Digital Person understands.Add Speech Hints.
If using Google Speech Services, this feature enables you to build a list of uncommon words or phrases that you want your Digital Person to understand. Type in commonly misinterpreted words or phrases that you want your Digital Person to be /wiki/spaces/~5a4d740dfed274297effe5c2/pages/1526271594.
...
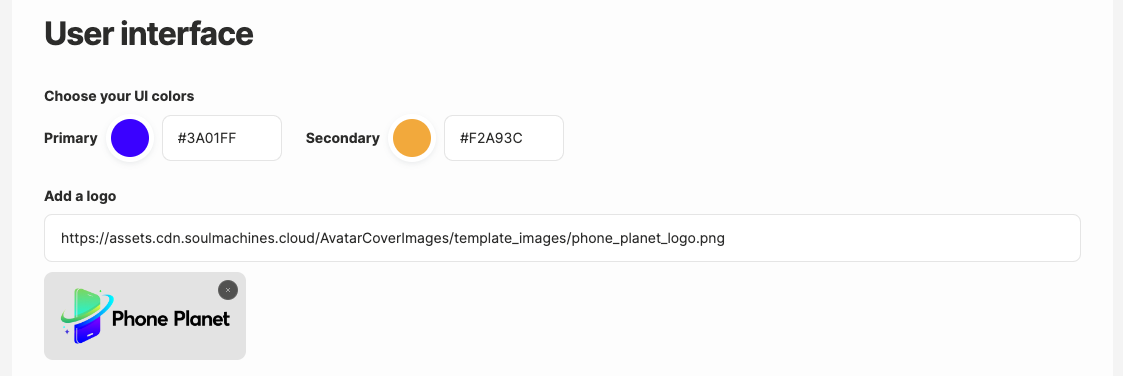
7. Customize default UI
We offer a self-contained microsite which you can share the Digital Person experience with your end-users or colleagues. You can customise the primary and secondary colors as well as add a logo.
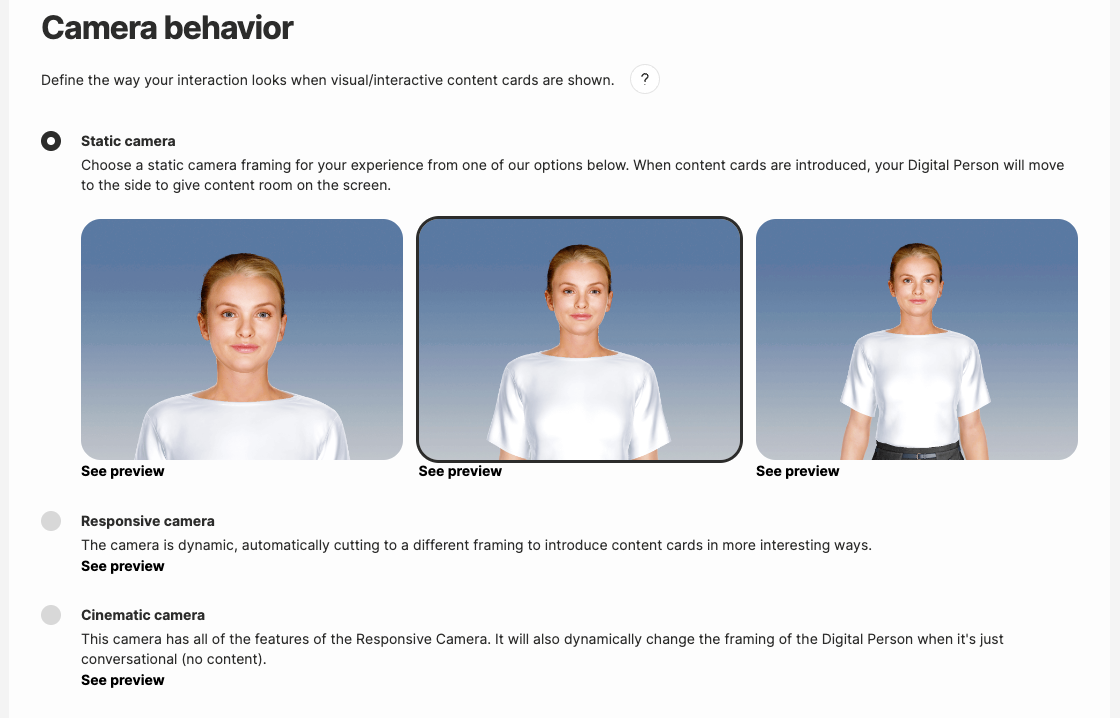
8. Customise camera behavior
| Info |
|---|
Note: Camera behavior option is only available only for Human OS 2.2 Digital Persons and later. |
/wiki/spaces/~5a4d740dfed274297effe5c2/pages/1526271701can enhance the experience of interacting with a Digital Person by introducing a range of server-controlled camera cuts that respond to relevant objects appearing on screen. Choose one of the below camera behavior to configure the Digital Person’s interaction when content cards are displayed on the UI. For more information on content cards, see /wiki/spaces/~5a4d740dfed274297effe5c2/pages/1526273789.
Click the See preview link to view a short preview of the interaction.
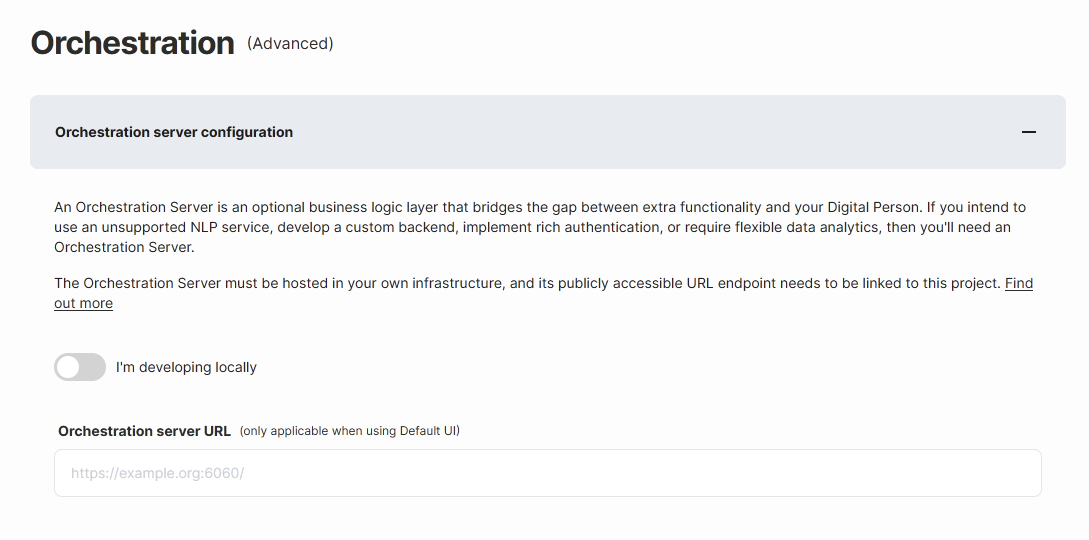
9. Configure an orchestration server (optional)
Use an /wiki/spaces/~5a4d740dfed274297effe5c2/pages/1526271804 if you're using unsupported NLP services, building a custom backend, implementing rich authentication, or requiring flexible data analytics. Orchestration servers are useful when you are using unsupported NLP services, designing a custom backend, implementing rich authentication, or need flexible data analytics.
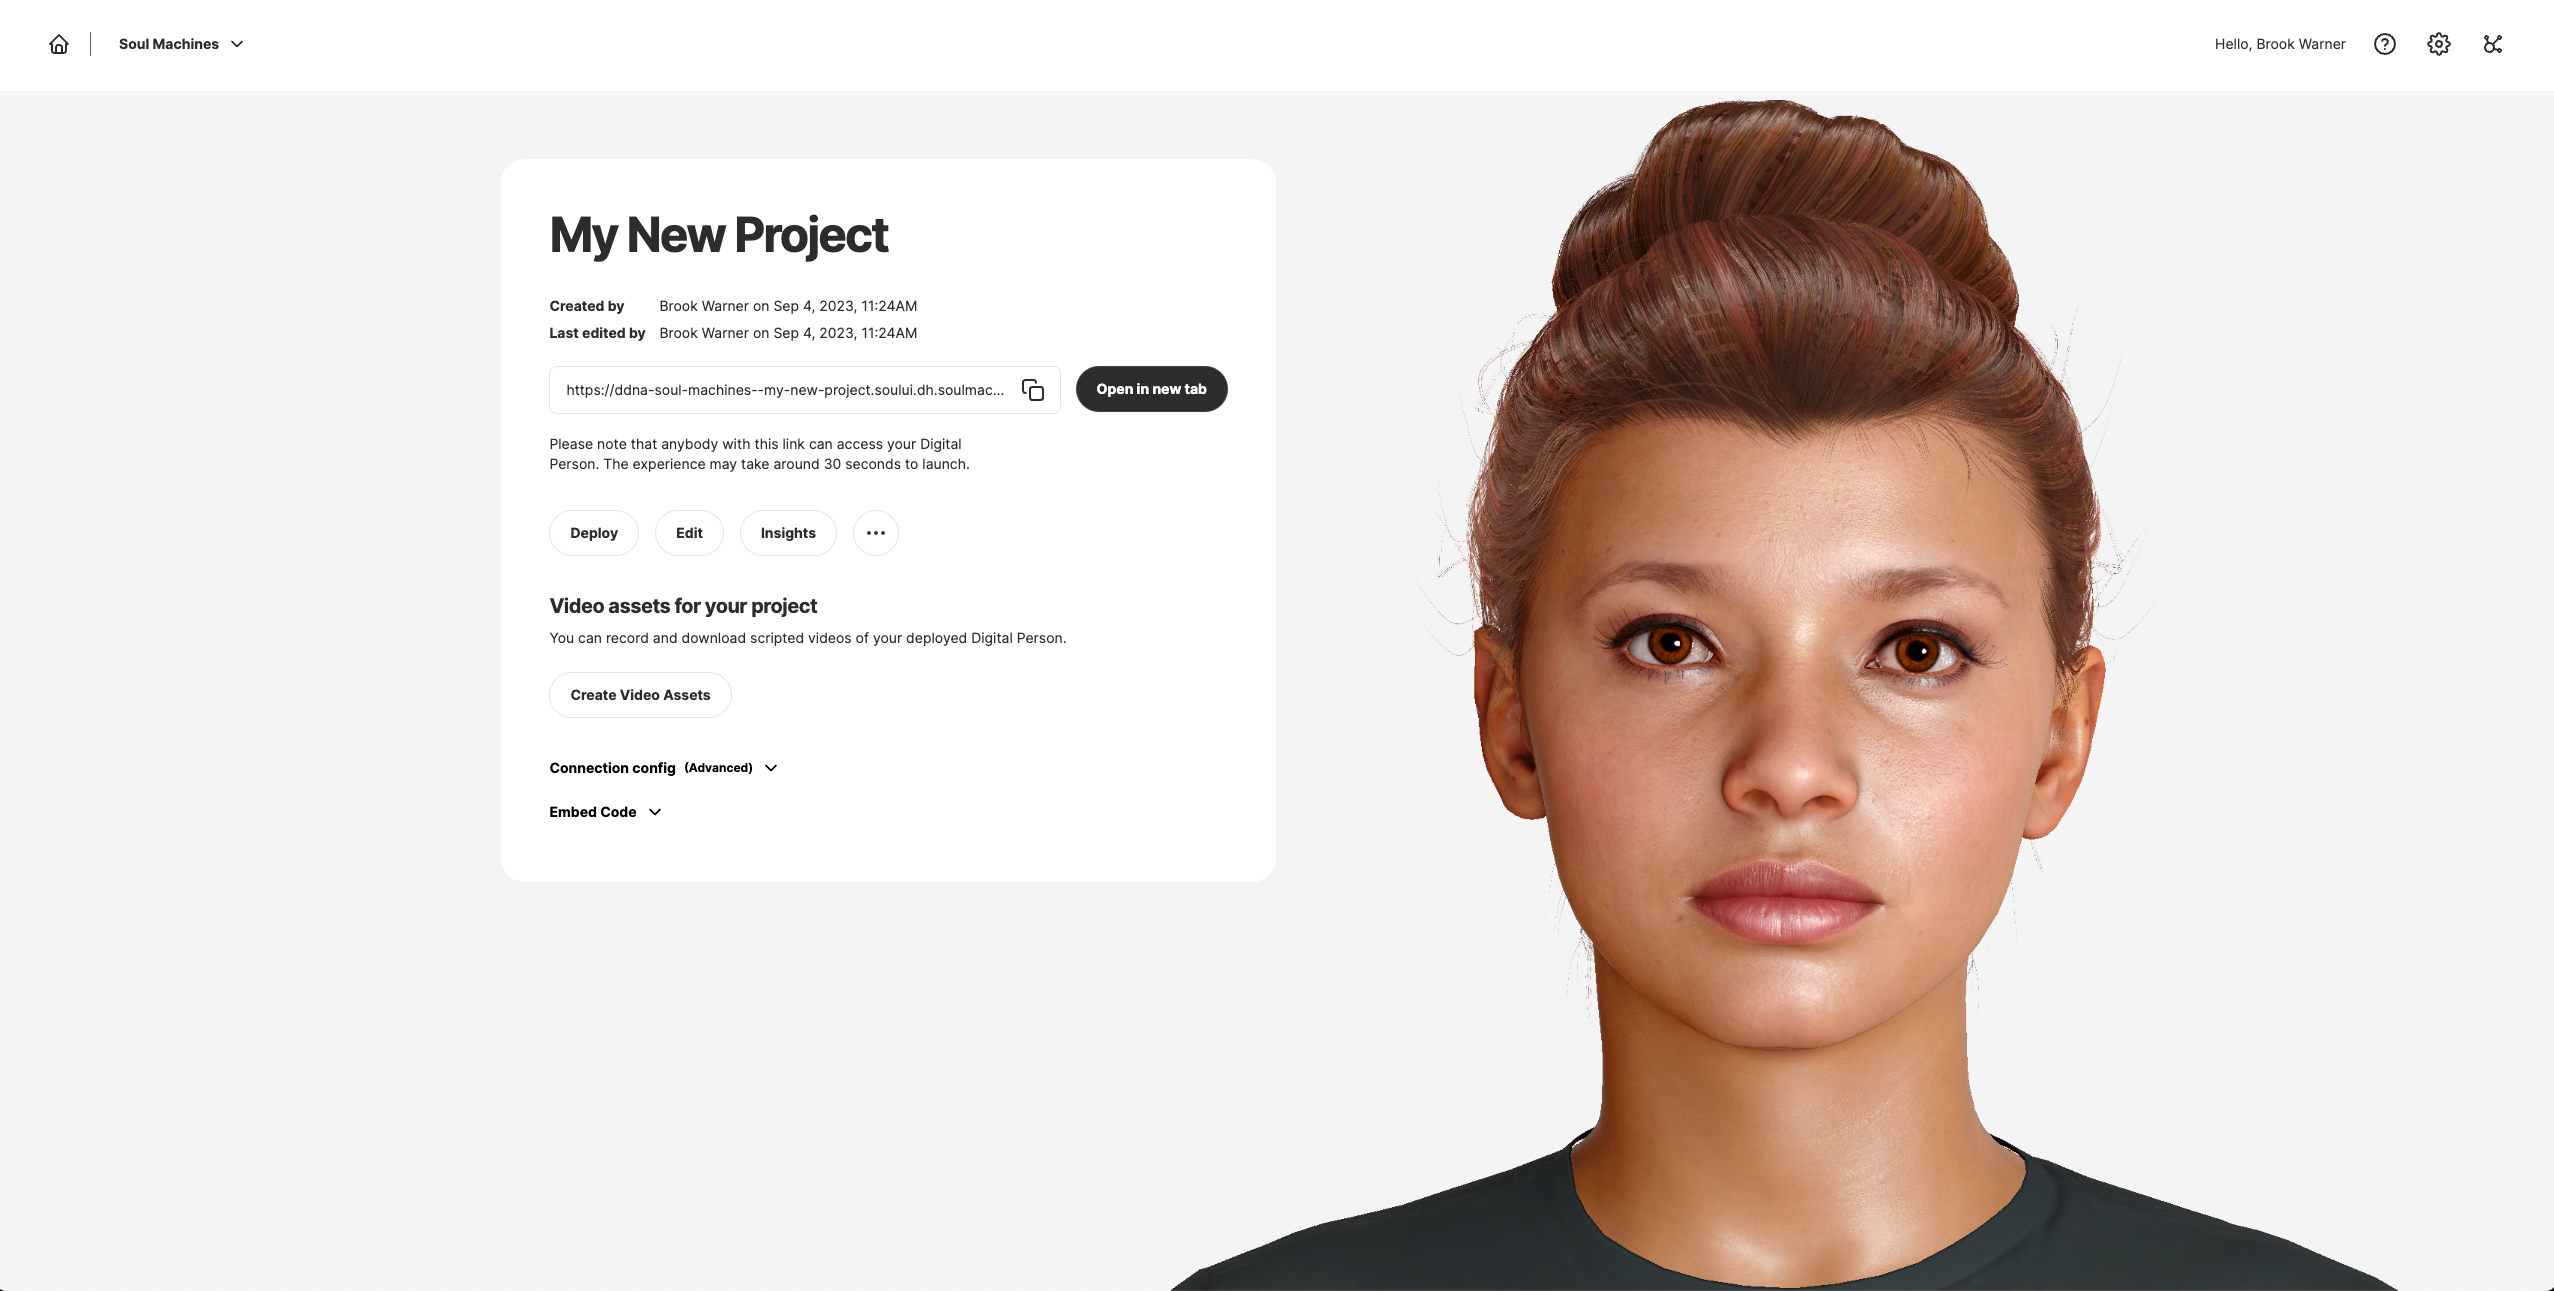
10. Deploy your project
Click Save to save your work.
You can return it at any time and pick it up from where you left off.Click Deploy to apply and view the new changes to your project.
You are presented with a URL to visit where your demo has been deployed.
| Info |
|---|
Note: Projects take between 15-30 seconds to launch the experience for the first time after deploying. After selecting Deploy Now the deploy process will begin and you will be redirected to the Project Management page. |
...
Related Topics
| Child pages (Children Display) | ||
|---|---|---|
|